
Demo app: Redirect Flow & Organisation installation
# 2. SSO with Zaikio account
In this chapter you will learn how to integrate Zaikio's Single sign-on in your app.
# Introduction Redirect Flow
There are several types of OAuth Flows. The most used is the Redirect Flow, it can be used for all devices that have an interactive browser (this applies to all web and mobile apps). The other alternative, which we will not discuss here, is the Device Flow. This is used for IoT devices that do not have a browser and/or no way to interact with the browser.
The users of your app will usually follow this flow:
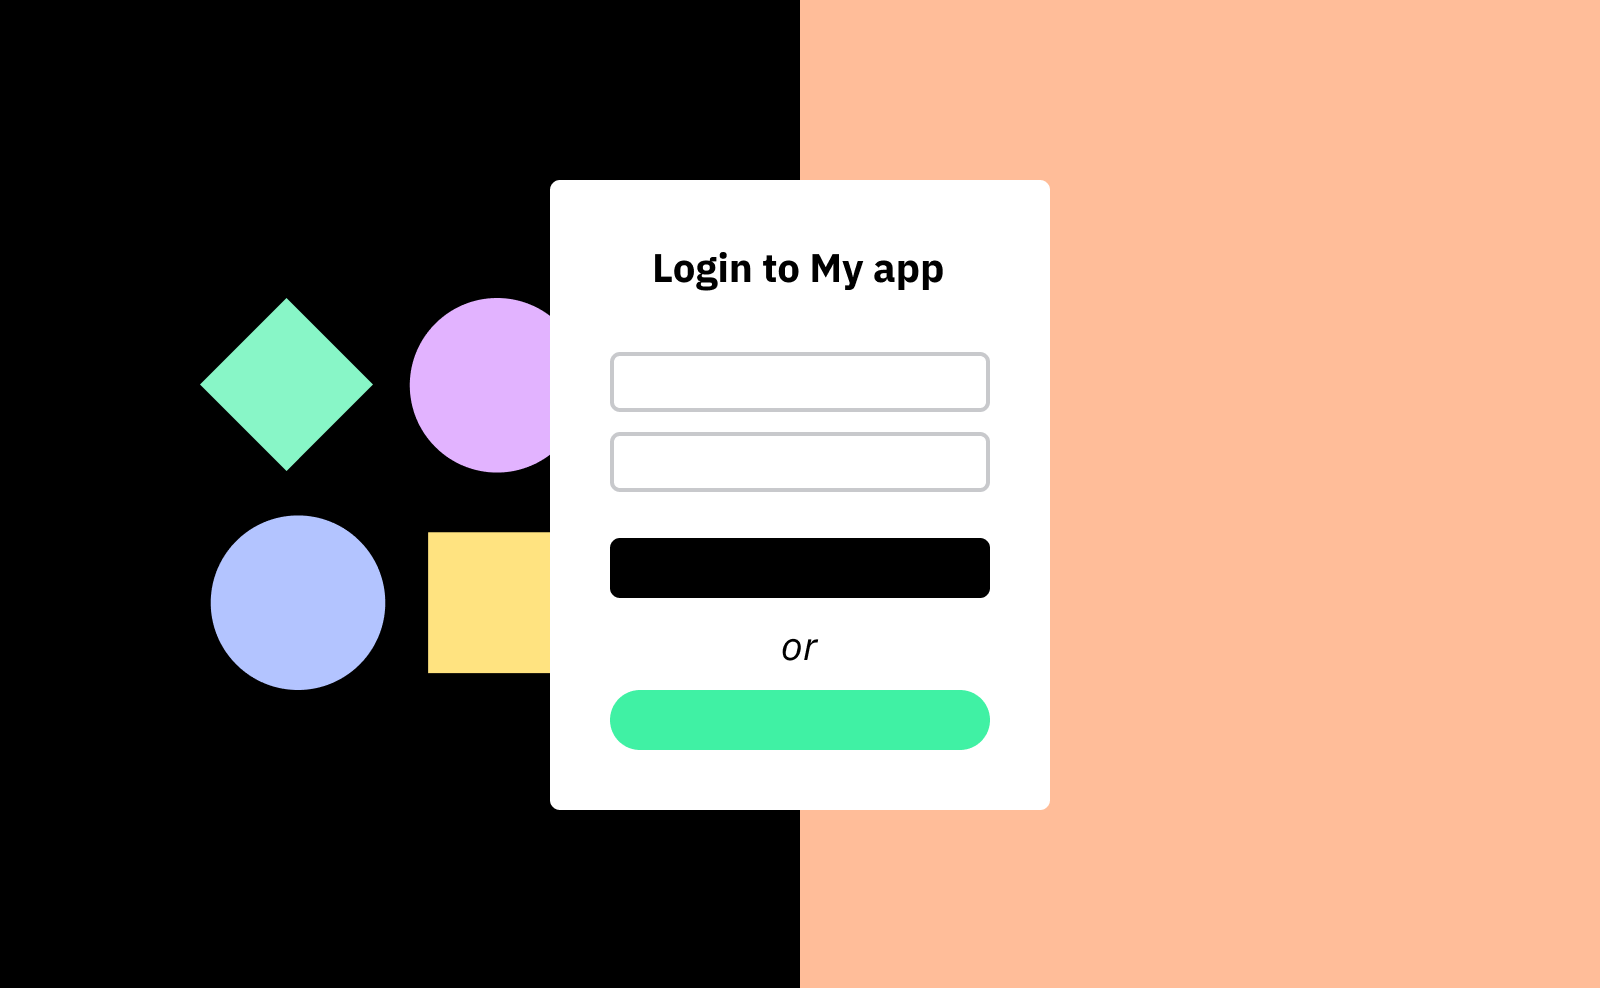
When users visit your web application and are not signed in, they are prompted to log in. When they click Login with Zaikio, they are redirected to Zaikio.
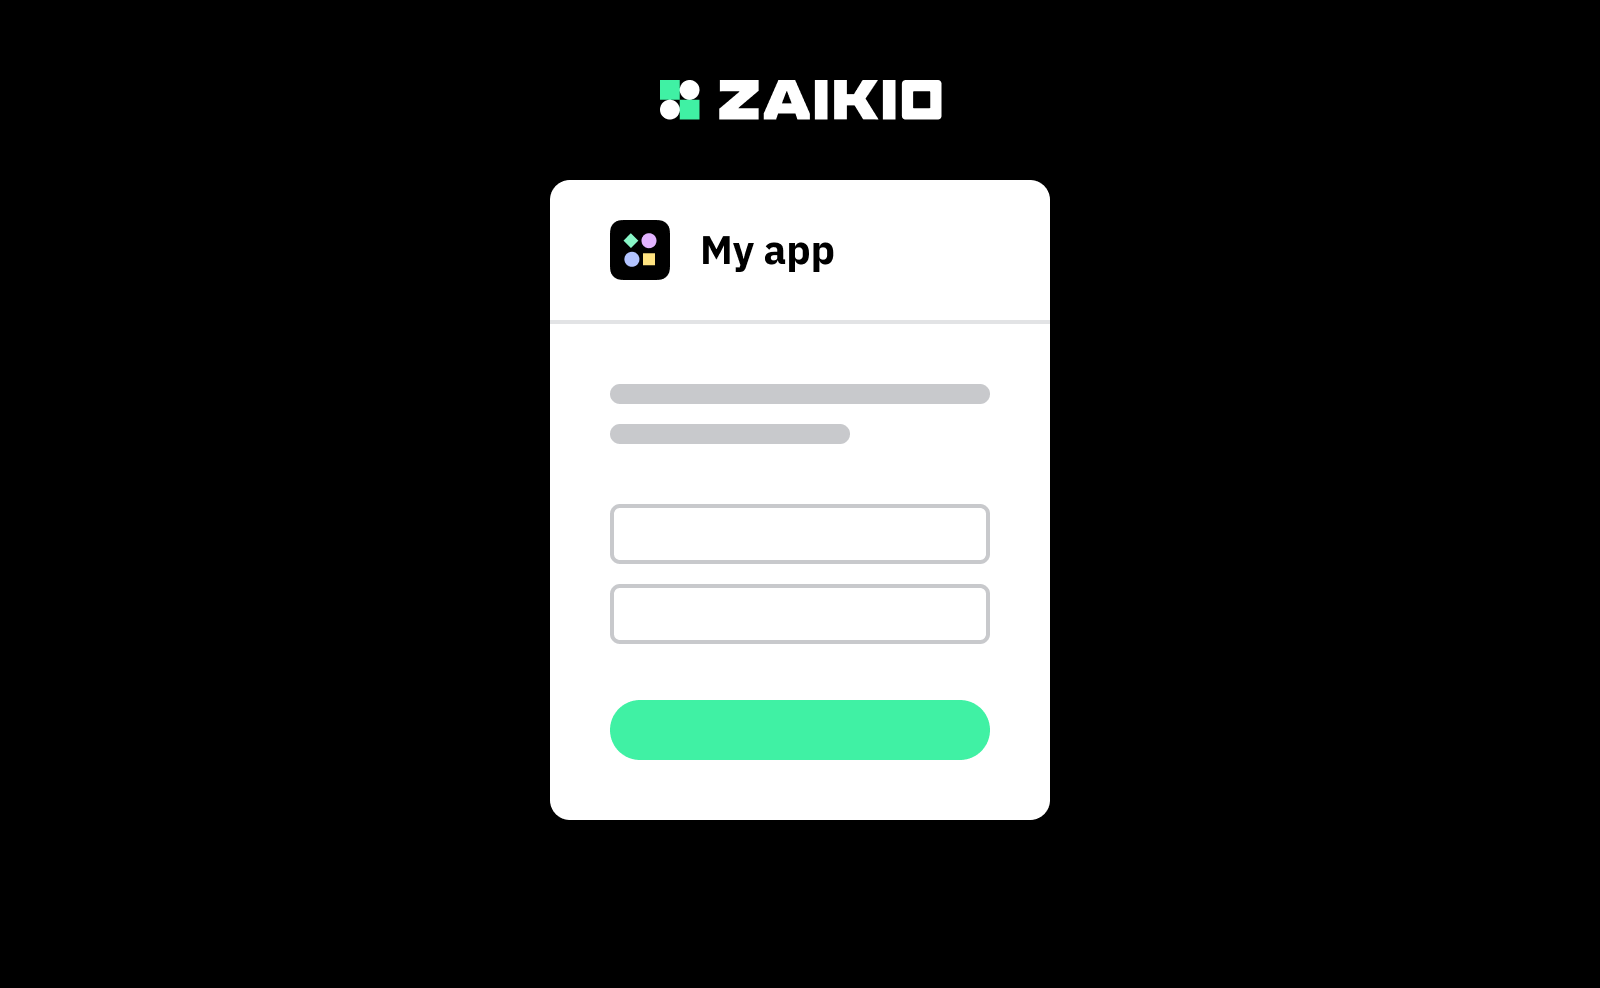
If users are not yet registered with Zaikio, they have the option of creating a free Zaikio account or signing in with an existing Zaikio account.
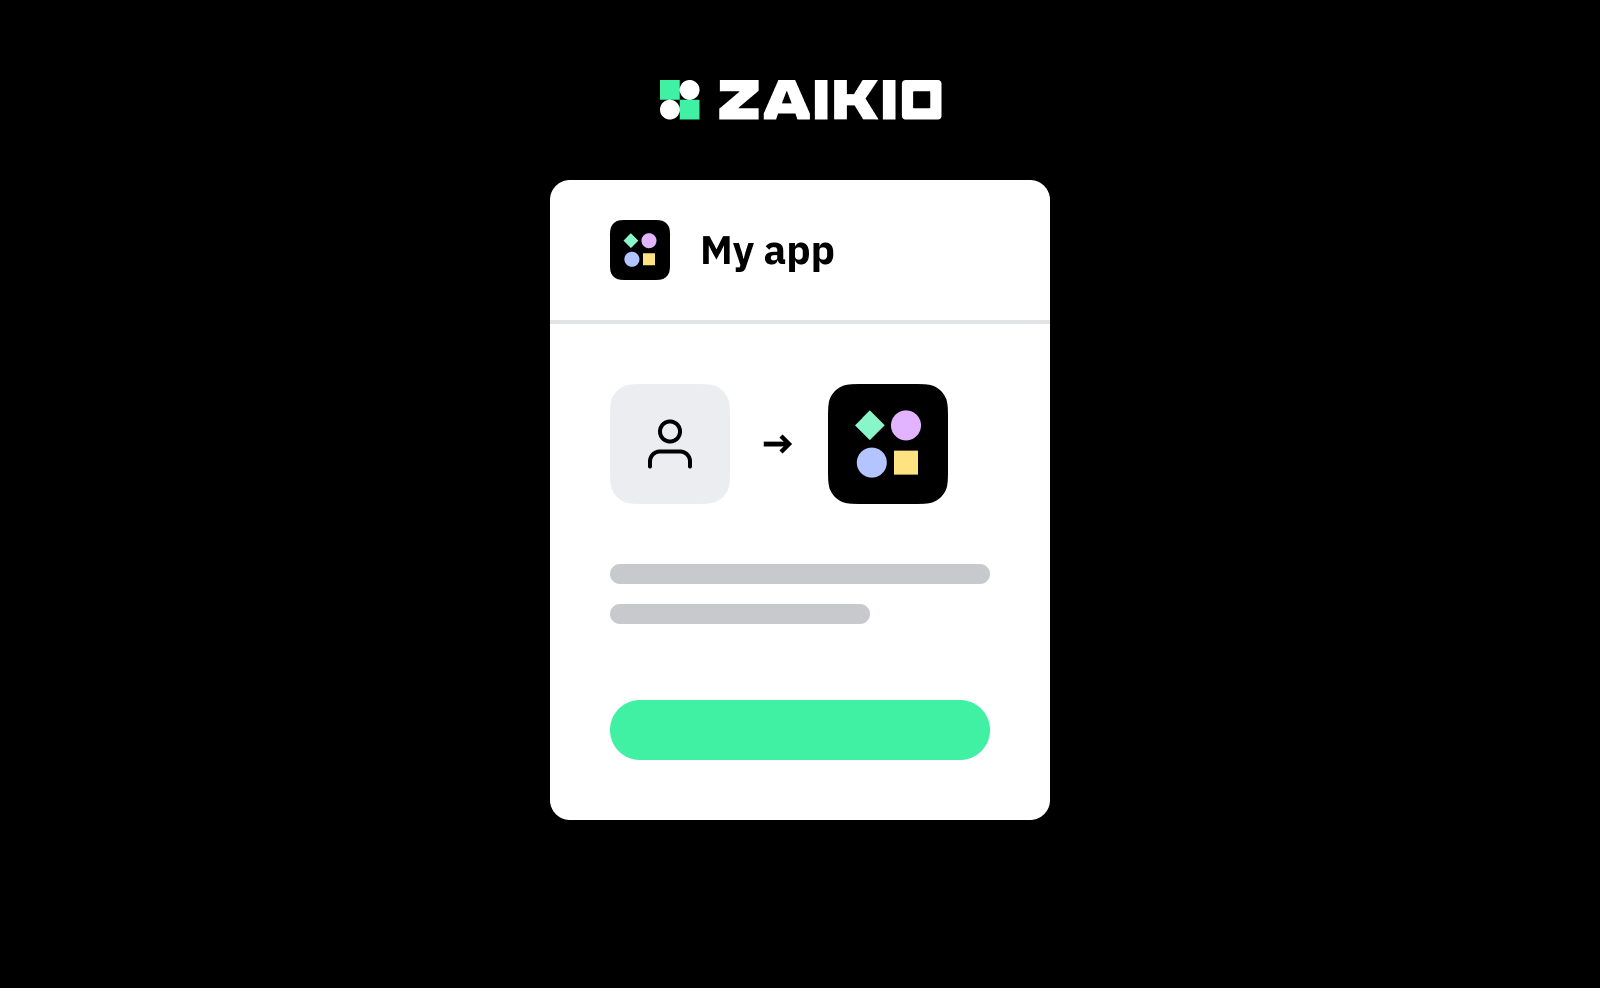
If users connect with your app for the very first time they need to confirm that connection and grant your app access to the permissions that you are requesting.
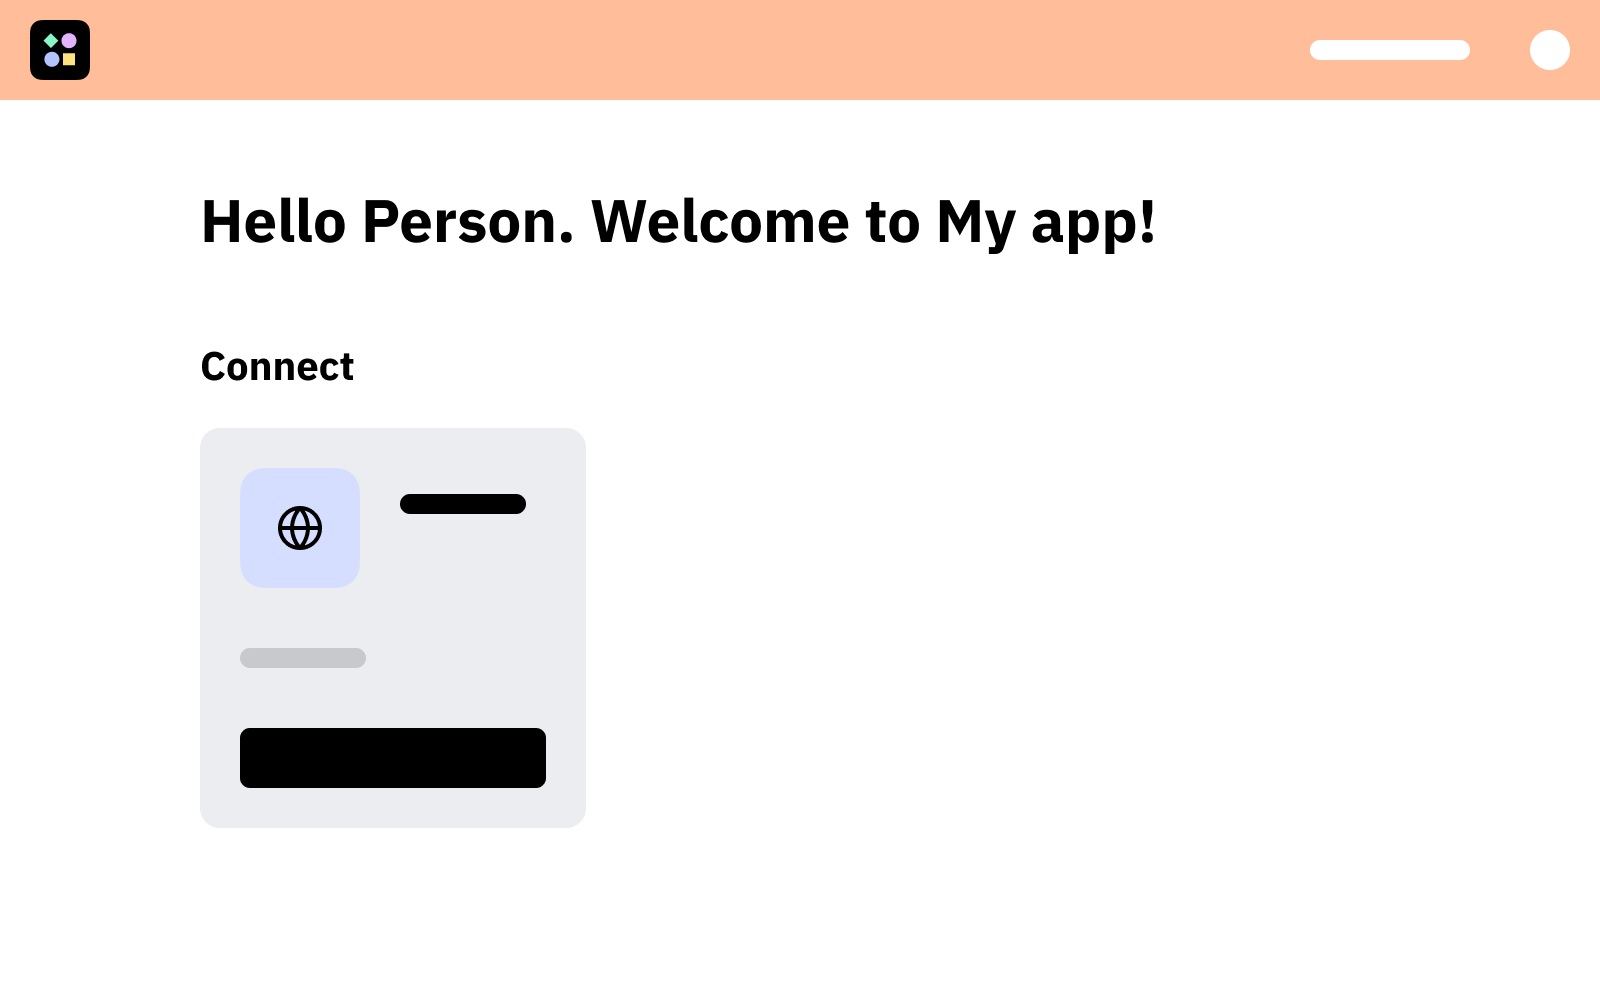
Once permissions have been successfully granted and users have logged in to Zaikio, they will be redirected to your website (using the given redirect_uri). If the users are already signed in to Zaikio and have been granted access to your application, this redirection will be seamless. You can now use the Zaikio access token to make further requests to the Zaikio APIs.
# 2.1. Get Client Credentials for your app
To use Zaikio's OAuth interface (Open Authorization) you need to add your client credentials to your app. This way Zaikio can securely identify your app.
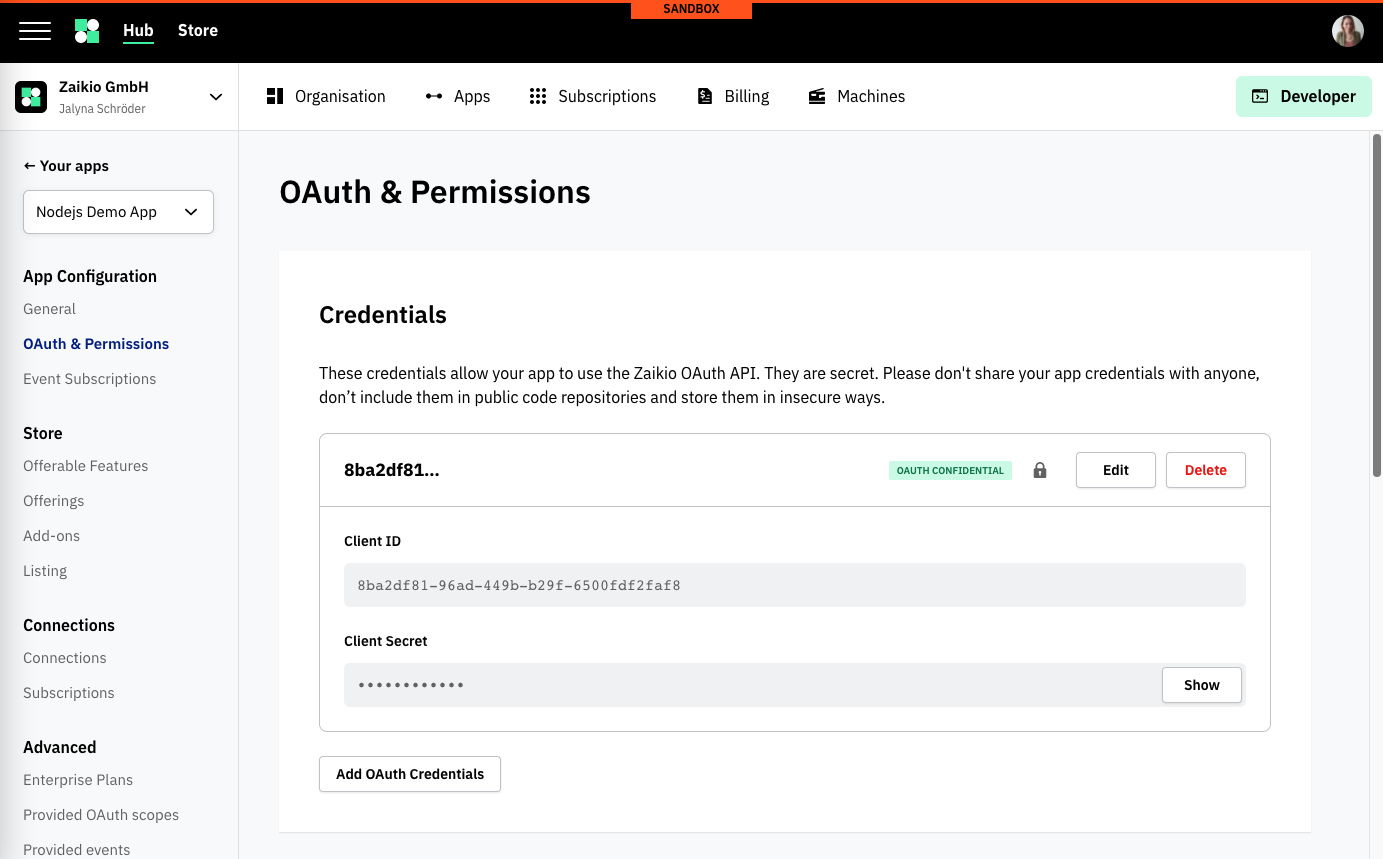
Navigate in Zaikio Sandbox (opens new window) to your app, and click on OAuth & Permissions.
You should see your OAuth credentials. At the beginning we already create an ID-Secret Pair for you. By default, the credentials are confidential, we recommend that you always make the authorization confidential. The only exceptions are single page applications that have no backend or clients in the IoT context.
Copy the ID and the secret. It is important that you store these credentials in a safe place where they cannot be easily read and they should not be stored in the source code of your app.
# 2.2. Setup OAuth Client
We recommend that you do not implement OAuth logic yourself, but instead use one of the many OAuth clients (opens new window). In our Node.js example we will use simple-oauth2 (opens new window).
# 2.3 Setup Redirect URI
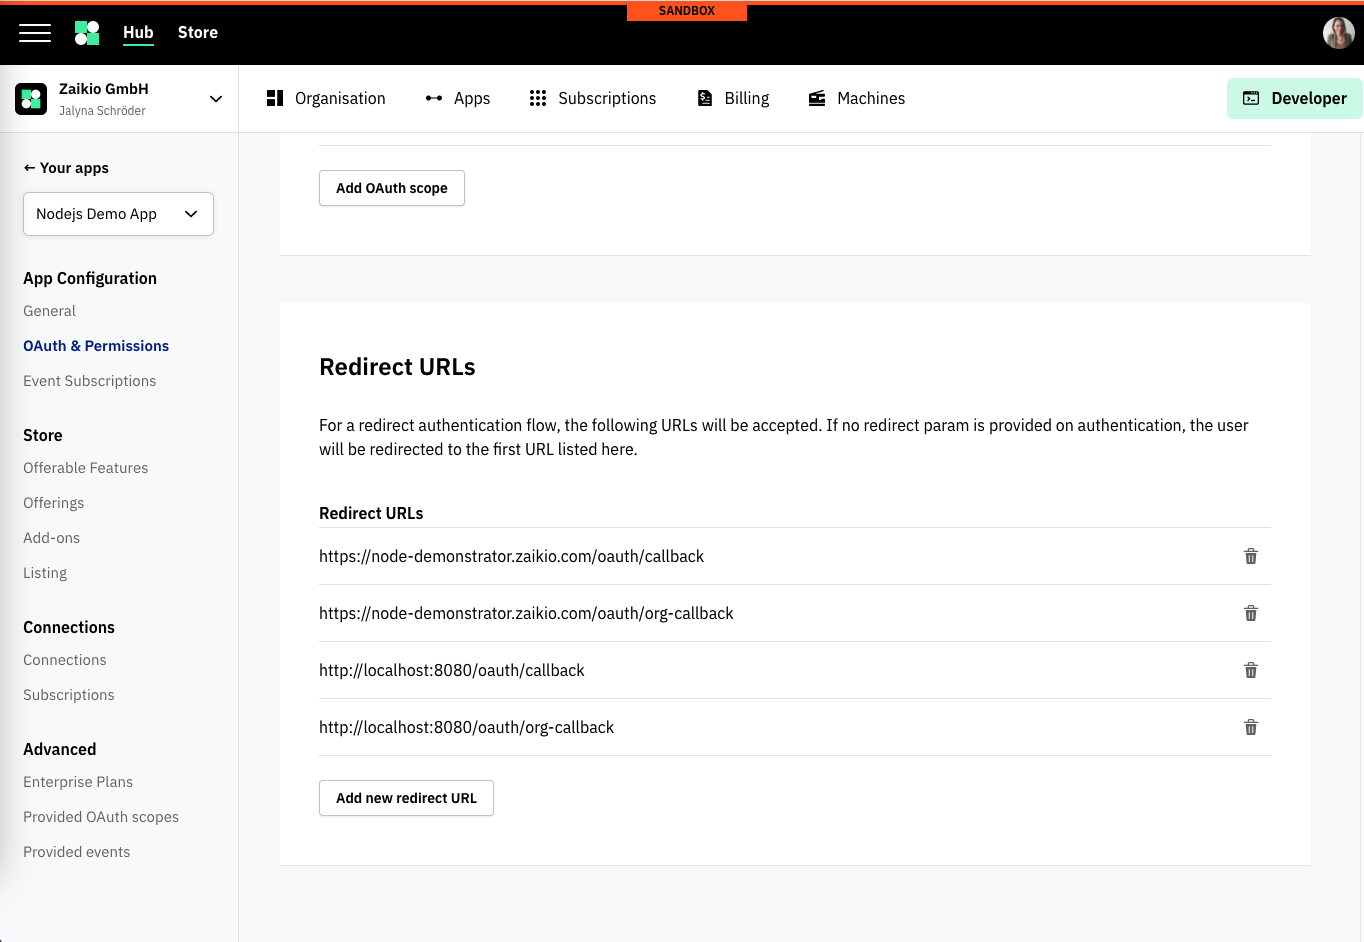
After the users have successfully signed in to Zaikio and granted access to your app, they will be redirected back to your app. This webpage must be stored in Zaikio for security reasons. This ensures that you cannot be redirected to external sites if your credentials are used. This URI is called redirect URI (sometimes also called callback URI). The redirect URI will likely be something like https://myapp.com/oauth/zaikio/callback. You might also add a local URL to start testing the flow on your local environment. You can add multiple URIs:
# 2.4 Redirect Users to Zaikio Sign in
When your users click on the Log in with Zaikio button, you have to redirect them to Zaikio's Authorize URL.
The OAuth client of your choice has a method to generate the URL to Zaikio:
The generated URL will look like this:
https://hub.sandbox.zaikio.com/oauth/authorize?client_id={ZAIKIO_CLIENT_ID}&redirect_uri=https://myapp.com/oauth/zaikio/callback&scope=zaikio.person.r
# 2.5 Create Zaikio Access Token
Users are then redirected to Zaikio. After the authorisation is successful and the users are redirected back to your app, the code parameter is sent by Zaikio to generate an access token.
The generated request to Zaikio's OAuth API will be:
curl -XPOST -H "Content-type: application/json" -d '{
  client_id: "{ZAIKIO_CLIENT_ID}",
  client_secret: "{ZAIKIO_CLIENT_SECRET}",
  code: "{CODE_PARAM}"
}' 'https://hub.sandbox.zaikio.com/oauth/access_token'
When performed the response will look like:
{
  "access_token": "749ceefd1f7909a1773501e0bc57d5b2",
  "refresh_token": "be4ae927cf49466293049c993ad911b2",
  "token_type": "bearer",
  "scope": "zaikio.person.r",
  "audiences": ["myapp"],
  "expires_in": "2019-12-03T08:57:35.958Z",
  "bearer": {
    "id": "29b276b7-c0fa-4514-a5b1-c0fb4ee40fa7",
    "type": "Person"
  }
}
Great! Now you have received a valid access_token from the JSON Response, in the next chapter we will use the token to perform requests against the Zaikio API.